August 25, 1961
Bulletin No. SB-866
Special Tools
SUBJECT: Special tool, part #378482, for installing trim band;
40 h.p. RD thru RDSL-23 (1961),
75 h.p. V4S-13 thru V4A-13F, (1961).
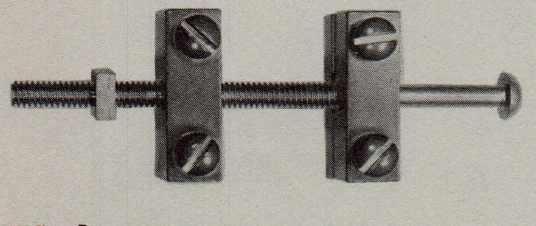
FIG. 1
Figure 1 illustrates a new special tool for install-
ing the trim bands on engine covers of the subject
engines. It will considerably and efficiently
reduce assembly time and is therefore a valuable
asset in the service shop. The net unit price of
this tool is $1.00 f.o.b. Galesburg, Illinois.
No C.O.D. orders are accepted by the Parts Depot.
Mail all orders with prepayments, check or money
order, directly to: Outboard Marine Corporation Parts Depot,
P.O. Box 470
Galesburg, Illinois.
DO NOT ORDER FROM THE FACTORY NOR YOUR PARTS DISTRIBUTOR.
INSTRUCTIONS FOR USING TOOL:
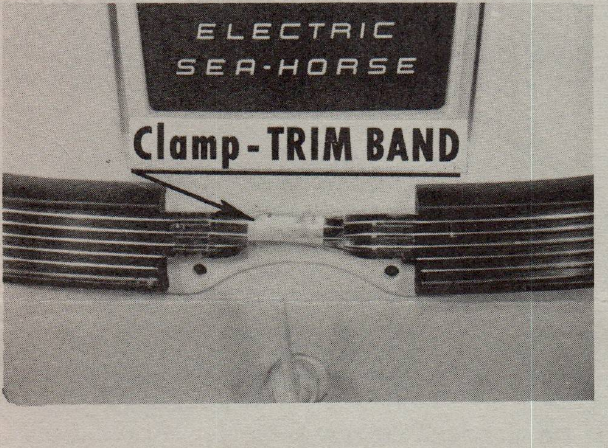
1. Cut 3/4" to 1" off each end of the trim band
with tin shears prior to clamping tool on the
band.
2. Clamp tool on one end of trim band. Place band
in position over rubber molding strip around
shroud, and clamp free end of band in tool, figure
2.
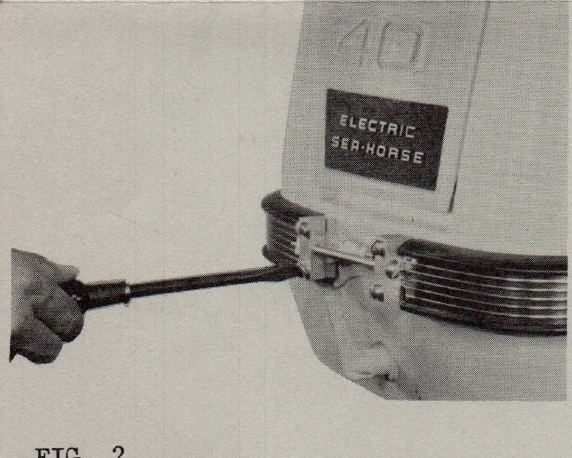
FIG. 2
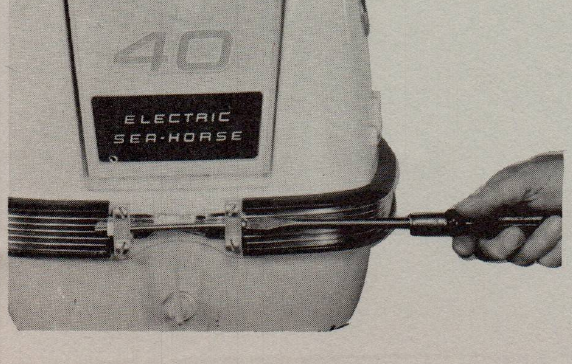
FIG. 3
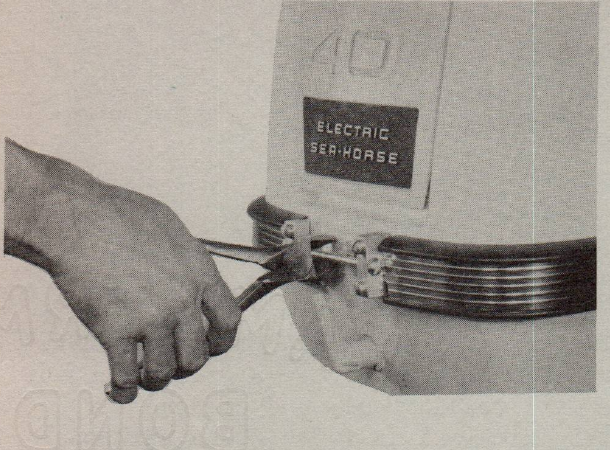
3. Draw trim band snug as illustrated in figure
3. Check band frequently all around shroud
while drawing trim band to be certain it is
between the top and bottom beads of the rubber
molding strip. Tighten band only as much as
required to remove any bulges from trim band.
over